Are you tired of monotonous, old-fashioned hairstyles? Look no further! The Classic Stitch Braid is the perfect protective hairstyle for any occasion. This classic style has been around for ages, but you can make it a showstopper with some creativity and the right products!
On The Braid Up, we’ve seen some pretty impressive Stitch Braid remixes, like heart shapes and geometric crossover patterns. But today, we’re keeping it simple with Resident Braid Up stylist Nastacia Crooks-Brady. We’re celebrating the iconic/never-fail/timeless style of classic Stitch Braids, and we will show you how to make it look 10/10!
Let’s Talk #stitchbraids
First, let’s talk about what Stitch Braids are. They involve braiding natural hair with extensions using the feed-in technique. Think of it as a seamless and beautiful finish to your hair. To create Stitch Braids, the natural hair is sectioned into thick or thin horizontal lines and then braided with the hair extension. The style is very versatile and can be done in many different styles. But for now, let’s focus on the classic Stitch Braid.

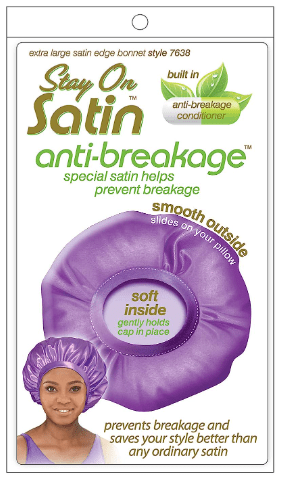
To get started, wash your hair with a clarifying shampoo to break down any product buildup and excess oil. Trust us, your hair will thank you! Then, style your edges with a castor oil-based edge control to get that flawless baby hair look. We know you’ll want to show off your new Stitch Braids, so lock down your style while you sleep with a satin-lined bonnet. This will keep your braids looking fresh and flyaway-free!
- PRODUCT DETAILS
- Prevents Breakage and Saves Your Style better than any other ordinary satin.
- Made With The Highest Quality, no elastic, no velcro, and two-sided fabric that stays on all night for Thicker, Healthier Hair.
- Save Your Style & wake up right!
- Prevents Breakage. Protect and maintain your hairstyles.
- Manufacturer : Spartan Brands, Inc.
- Product Dimensions : 0.25 x 4 x 8 inches; 1.6 Ounces
Don’t forget to moisturize your scalp with an oil like jojoba or rosemary oil to keep it hydrated and healthy. Once you’ve prepped your hair, it’s time to start braiding!
Follow these steps to create your own classic Stitch Braid:

1. Create a part in your hair:
Use a comb to create a part in your hair where you want the braid to start. This can be in the middle, to one side, or anywhere you prefer.

2. Start Brading Your Hair
Braid your hair with extensions using the feed-in technique: Take a small section of hair near the part and add in your hair extensions. Use the feed-in process by braiding the extensions into your natural hair as you go. This will create a seamless, natural-looking braid. Continue braiding until you reach the end of your hair.

3. Trim any flyaways
Trim any flyaways to keep your braids looking neat: Use a pair of scissors to trim any stray hairs that are sticking out of your braid. This will help keep your braid looking neat and tidy.

4. Create a Bun With the End of the Braid
Create a bun and use the ends of the braids to secure it at the base: Gather your braids at the back of your head and create a bun by twisting and pinning your hair in place. Use the ends of your braids to secure the bun at the base, tucking them in and pinning them as needed

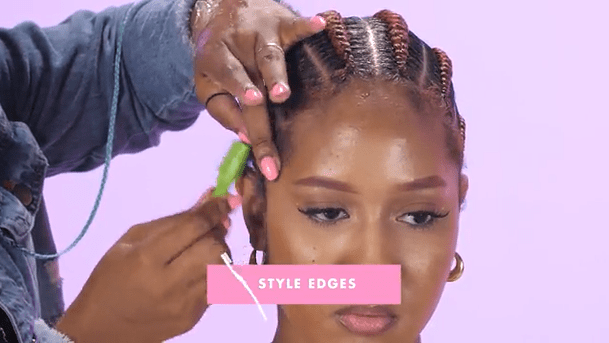
5. Style your edges
Style your edges with that same castor oil-based edge control: Use a small amount of castor oil-based edge control to smooth down your edges and create a sleek look. Apply it using your fingers or a small brush.

6. Add some mousse and let it dry:
Finish off your braid by adding a small amount of mousse to help hold the style in place. Allow the mousse to dry completely before touching your hair to prevent frizz.
Remember to practice and be patient with yourself as you learn this technique. With some time and effort, you’ll be able to create a beautiful and classic Stitch Braid.
Post Originally Written by Annabel Iwegbue


